2021-04 Food Cellar New Floor
As the seasons changed, so the was a massive difference between the start and the end of April. April started with ongoing snow and frozen ground, but by the end, all the snow in the garden was gone and the ground was soft and diggable.I had a winter project to finish, which was the laying of the new concrete floor in the food cellar.
Food Cellar Renovation
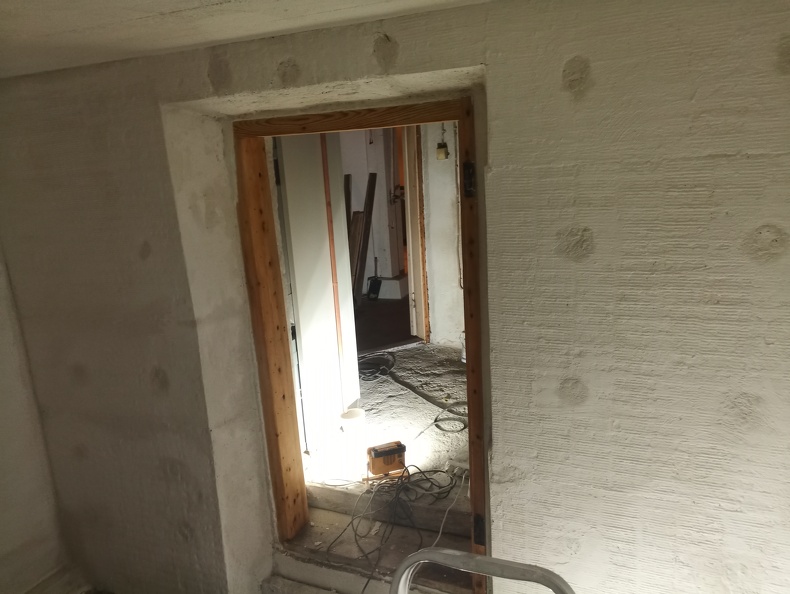
The house was built in the 1940s. At some date, someone had knocked a hole through the basement wall and added the food cellar. This is a room outside of the basement that is vented to the outside world. It would have acted like a large fridge.
The concrete floor and wall surfaces had since deteriorated to the point that the room was unusable. Over winter I’d dug out the old concrete floor. I’d also repaired the walls using hard repair cement. This month was the final steps to making it possible to lay the new concrete floor.
Insulation
To help keep the house basement warm against the temperature in the cellar the aim was to insulate the exterior of the basement wall. How moisture and drying happens in old properties isn’t well controlled. Specifically, an area might be “drying to the inside” or “drying to the outside” or switch between the two at different times of the year. So I used a breathable insulation material which would be more forgiving of any moisture issues. I didn’t want to accidentally trap migrating moisture against insulation layers and cause a new damp problem.
Metal pins attached the stonewool to the outside of the basement wall. I hadn’t done this before so getting the slabs to fit in place with the large metal retaining pins that needed to be fitted into holes drilled in the wall was tricky. In hindsight, I now know how I should have done it (an adhesive plus a longer drill bit). But at the time I couldn’t find any instructions so there was a lot of learning.
Tooling Up
I’ve been using a domestic 18v drill for everything but the concrete walls were too much for it. Drill bits would hit a stone and wander, and stop progressing. Sparks came out during the last mixing bucket. So I purchased a “real” mains-electric powered SDS electric hammer drill this month with the remaining budget. The same drill bits went into the wall easily in the new drill and I could mix materials easily. I used it to make the holes for the insulation mounting.
Rendering
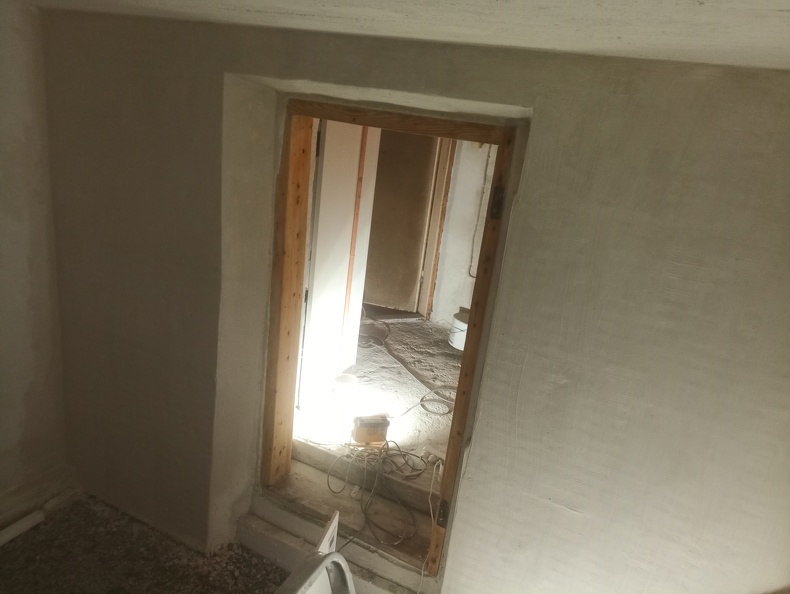
Once the insulation was up, I wasn’t sure about the render to use. Sources recommended using lime for food cellars but I couldn’t get any when I enquired. I tried putting a render finish on one side with gypsum. This was my first time using it and I hadn’t realised how fast it sets. I’d previously used the Husfix cement product that I’d smoothed the basement walls with. Husfix stays workable for over an hour, whereas plaster dries much faster, and leaves a softer surface. In the end, I switched to Husfix. I didn’t know at the time to use a wire mesh to reinforce the surface. The edges should also have had a reinforcing metal upright. I didn’t know what to ask for at the time. So the resulting wall surface was more fragile than I would like but it is a light-use area.
Preparing to Lay the New Concrete Floor
Once the wall insulation was in place it was time to lay the floor. The wall insulation would help reduce thermal bridging from the floor to the basement wall. I put down a permeable fabric and then laid a depth of gravel that I levelled with a laser. I put a layer of non-compressing insulation foam down, and a layer of thin plastic, and created a rebar pattern on top. The concrete layer would be at least 100mm thick and 150mm thick in the trenches. If I was doing it again I would have used foam edging strip around the walls.

I read about the correct way to prepare the rebar – rebar in concrete slowly rusts and cracks the concrete, and the rebar arrives slightly rusty. Painting the rebar should help prevent rusting. But the theory is that any small imperfection then meets with a higher unreacted amount of chemicals in the concrete, and you risk getting a break at that one point, earlier than an unpainted rebar structure would fair. I figured I’d give it a go anyhow and treated all the rebar with a chemical conversion product for the rust, then painted the steel rebar with thick paint, and then put fine sand over the setting paint to give a grippier finish.
We carried all the concrete bags up the steps into the house, and then down the stairs into the basement. It was about 70 bags of 20kg each. The moment was also a problem in the cold as there was no “mud room” air lock in the house. It was freezing outside, and the door couldn’t stay open.
The previous mixing with a small battery-powered hand drill had been a nightmare, but this time we could use the more robust drill that I’d purchased, although it was really loud in the enclosed space. I did know a concrete mixer would be easier but it was too difficult to source at the time and brought with it other logistical issues, like how I would get it into the basement.
Day of the Pour
On the day of the pour, we got everything ready as close as possible and had all the correct safety gear on. I remember the 3M facemask filters were expensive because of the global pandemic causing all the face mask parts to be in short supply.
My girlfriend did the mixing and I did the bag opening and pouring. After mixing I poured it into the pit for the slab. In a small space with facemasks on, it was tough work. We knew we were working against the clock to get 70 bags mixed and poured before any problems from the initial bags starting to set.
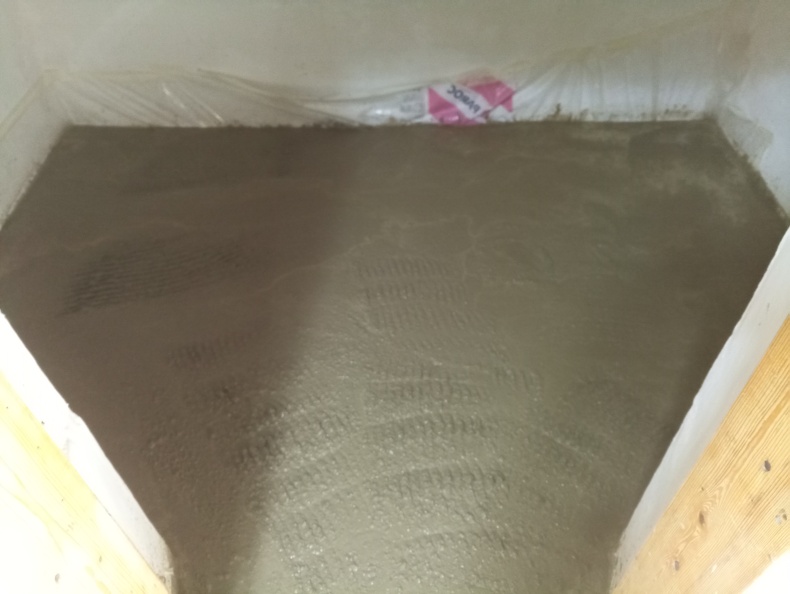
There were a few problems. Someone came to visit halfway through the operation and the “float” tool used to smooth the concrete surface off wasn’t the right type to work correctly. Because the concrete was being poured into an enclosed room, we also couldn’t work around the edges of the slab to flatten the surface, as would be possible with a foundation being made outside, nor could we ensure perform any levelling measurements. The plastic was wrinkled at the edges which caused a poor edge.
Aftermath
I remember packing everything up and being physically worn out but also being a bit nervous to see how it would be in the morning. In the morning I ran down to take a look. It was still warm from the exothermic reaction of the concrete setting. The surface finish wasn’t as flat as I would have liked but it felt especially solid compared to the previous floor, and the thinner floors in the basement. There would be a lot more to do, but that was next month.
Other April Things
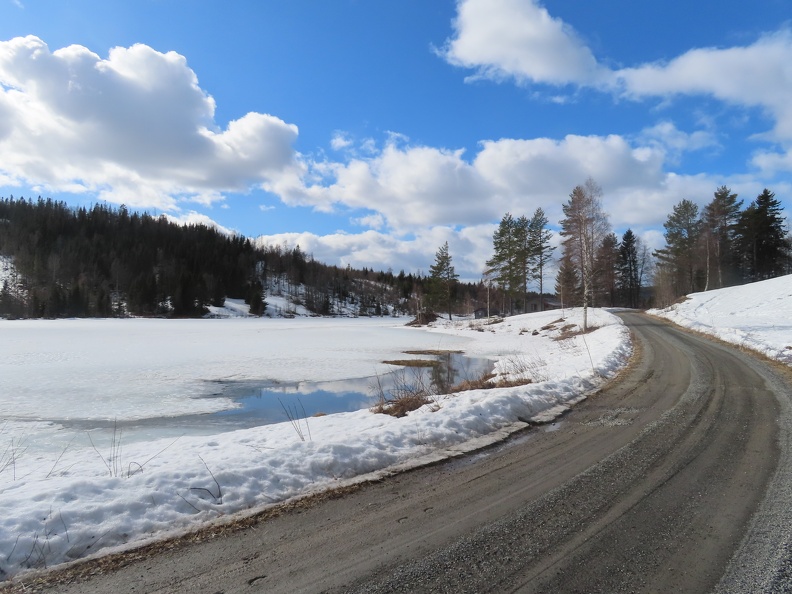
As the ice on the roads melted, it became safe enough to cycle. I went out exploring on my mountain bike in the final bits of snow. Despite the snow, the sun was out and so it was fine cycling in rolled-up sleeves. It seemed every corner and hill I went over there was another beautiful lake to discover.
I realised we’d been working hard and we were also stressed out with emigration paperwork issues. I wanted my girlfriend to be able to enjoy the countryside too. So I spent some money on an electric bike for her. It arrived near the end of April and she began finding new routes I hadn’t seen. This turned out to be something she loved using.

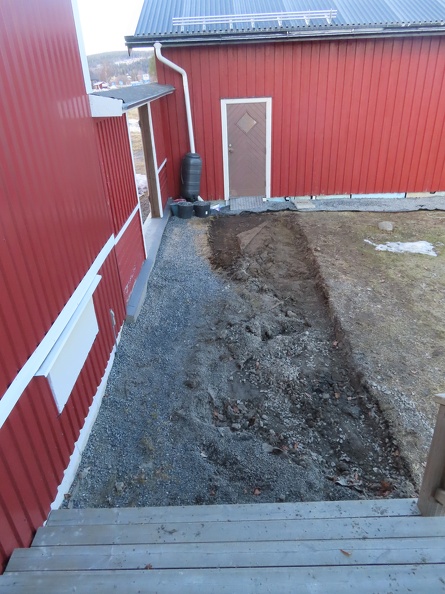
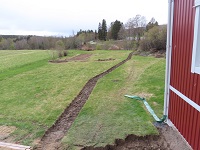
Another project was that there was a strip of land between the front door of the house and the garage, and the driveway, which was partially gravel and mud. This meant in wet weather any trip to the garage and back resulted in muddy shoes. At the end of April we attacked the soft ground. We discovered some previous groundsheet and perhaps gravel, which had since been overgrown. We dug a drainage profile that sloped away from the house. On slope we then laid groundsheet and then backfilled the hole with coarse gravel. By now we knew to ask for “grus”/”makadam” 8-16mm. The edging to the lawn was rough at this point but we got the main tasks achieved. Moving all the gravel by hand was a lot of work.


